Input Management
namespace: qASIC.InputManagement
Introduction
Cablebox Input System is based on top of Unity's legacy Input Manager and provides a more versatile and intuitive way of managing input. It comes with scripts that let you add things like button remapping with little time.
Gamepads not yet supported
Cablebox doesn't support gamepads yet. This feature is planned to be added in one of the next updates.
Setup
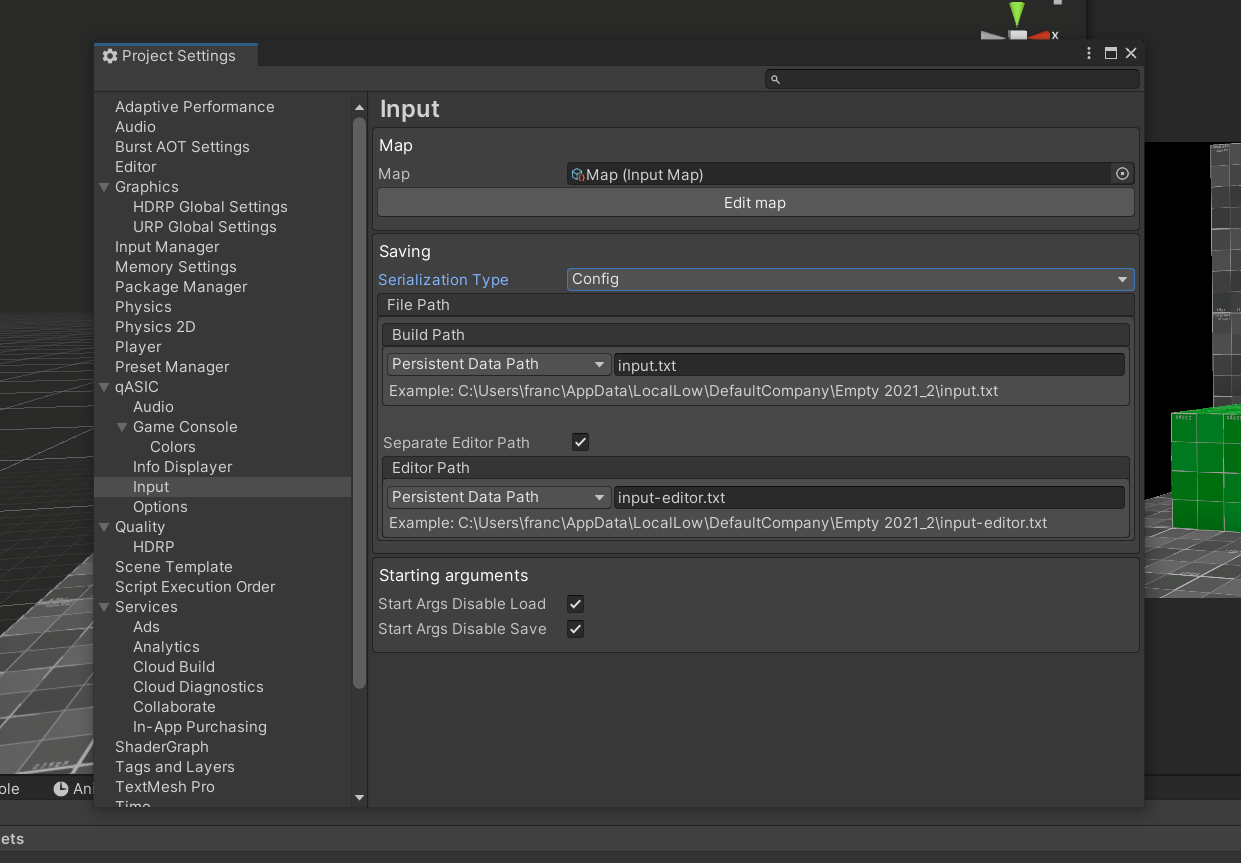
Create an Input Map from Create/qASIC/Input/Input Map and assign it in Project Settings/qASIC/Input.
Input Map contains actions which are used for getting user input. You can learn more here
Setup (for the new Unity Input System)
Cablebox isn't compatible with Unity's new Input System yet*. Luckily the old Input Manager can be enabled alongside the new solution. To do that go to Project Settings/Player/Other Settings and change 'Active Input Handling' to 'Both'.
*There are plans for adding support for Unity's new Input Solution, but they are not confirmed yet. It might come in a very future update or after qASIC's full release.
Usage
To get the current state of an action call InputManager.GetInputDown, InputManager.GetInput or InputManager.GetInputUp.
To get an axis call InputManager.GetMapAxis. Axes can also be created during runtime by using InputManager.CreateAxis.
To change the key use InputManager.ChangeInput. This can be achieved without having to write code (see next section).
Remapping
Keys can be remapped from the console by using the changeinput command.
In order to integrate remapping into the menu, use the Input Assign component and specify the targetted action. It works out of the gate if you attach it to a button or if you add the StartListening action to it.

tip
In order to communicate to the player that the game is listening for input, configure OnStartListening and OnAssign to toggle some kind of "Press any key" text (you can see this in the example scene).